When you are trying to come up with a fun project to do with your kids, you can never go wrong with tie-dye. Tie-dyeing is a timeless craft project that’s fun both for adults and kids of all ages. Whether you have tiny tots, tweens or teens, this is one project the entire family can truly enjoy.
There are a lot of ways to tackle this project. In fact, one of the greatest things about it is that it’s so versatile. As long as you have blank t-shirts (or other garments or fabric items), some type of dye and some rubber bands or string, you’re good to go. Keep in mind, though, you don’t need to make a special trip to the store to buy a fancy tie-dye kit or even fabric dye. Chances are, you already have something for transforming kids’ plain t-shirts into one-of-a-kind works of art in your pantry: food coloring.
Working with food coloring rather than commercial dye kits offers numerous benefits. For starters, it is completely safe. While it will stain your little one’s skin just like fabric dye would, you don’t have to worry about what might happen if your tiny tot decides to take a taste. It’s meant to be added to food, after all. Food coloring is inexpensive, too, and since you probably already have some at home, you won’t have to make a special trip to the store just to get the supplies needed for this project. Just like any other type of dye, various colors of food coloring can be mixed to create additional colors, too. This can be a great way to explore colors with your little one!
Order Your Kids’ Plain T-Shirts to Start Customizing Today
Tie-dyeing shirts with food coloring is a safe and simple project, and once you’ve mastered the technique, you can use it to dye all sorts of things. From t-shirts and sweatshirts to towels and sheets, it’s possible to tie-dye just about anything made from fabric. Ready to learn how to tie-dye a shirt with food coloring? Let’s get started!
Start with the Right Shirts
Before we dive into the specifics of how to tie-dye shirts using food coloring, we want to touch on the importance of choosing the right shirts. While it’s possible to tie-dye just about anything made from fabric, certain shirts are better for the job than others. If you’re wondering, “Is polyester better than cotton?” for example, the answer is a resounding “no.” While polyester is great for athletic wear, it’s not so great for tie-dyeing. Why? The same moisture-wicking properties that make it great for pulling sweat away from your skin and enabling it to dry quickly can prevent the fabric from fully soaking up the dye.
While you can use polyester or cotton/polyester blend shirts, you’ll get the most vibrant results by working with shirts made from 100 percent cotton. Shirts made from other natural fibers–including hemp, linen, wool and silk–work well, too. This is because they are hydrophilic, meaning they absorb liquid easily. Synthetic fabrics, like polyester and acetate, on the other hand, are hydrophobic, meaning they repel liquid.
When you’re planning on dyeing shirts with your family or thinking about doing the project at a birthday party or slumber party, it’s smart to stock up on plain t-shirts in bulk. Tie-dyeing is a good way to breathe new life into the plain shirts hanging in the back of your kids’ closets, but when you buy in bulk instead of trying to upcycle what you already have, you’ll have plenty of extras in case something goes wrong. New shirts may absorb the dye better, too, since they haven’t already gone through several washes, been treated with fabric softener, etc.

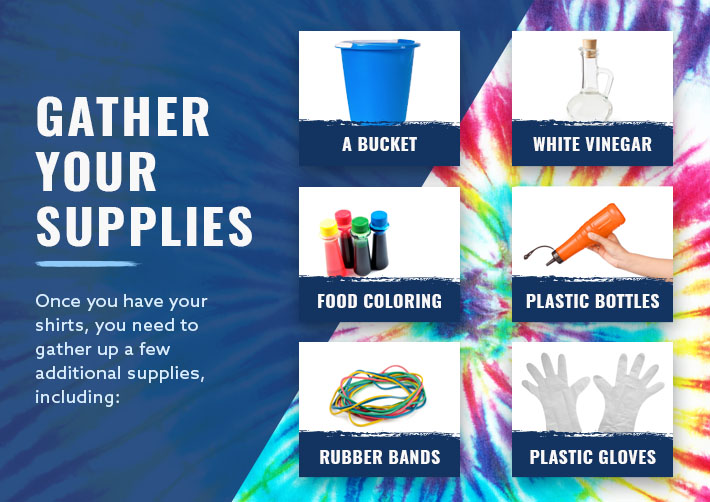
Gather the Rest of Your Supplies
Once you have your shirts, you still need to gather up a few additional supplies, including:
- A bucket or large bowl (for soaking your shirts)
- White vinegar
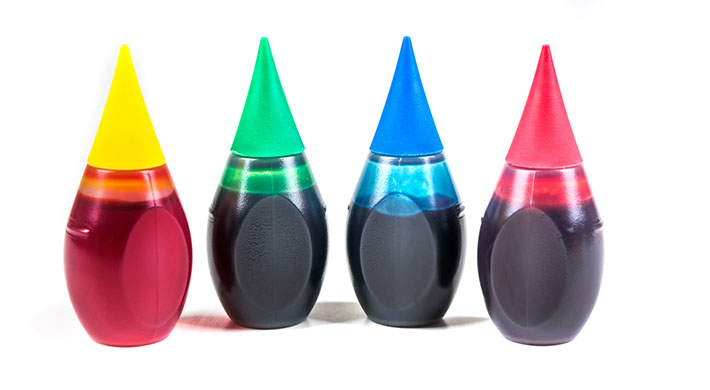
- Food coloring
- Plastic squeeze bottles
- Rubber bands or string
- Plastic gloves
You may also want to pick up a plastic drop cloth or table cloth if you plan on tackling this project indoors. It can get pretty messy!
Prep the Shirts
Even if you are using brand-new shirts, it’s smart to wash them prior to starting on this project. This removes any residue that may be left over from the manufacturing. Washing and drying will pre-shrink the shirts, too, which will enable you to make sure it still fits you properly after being laundered. Wash the shirts using only laundry detergent. Do not use any fabric softener or dryer sheets.
Ordering Plain T-Shirts in Bulk Ensures You Have Plenty for Tye Dying
After washing and drying your shirts, you can technically give them a dunk in water and start dying. Taking one extra step, however, will help ensure the dye sticks and your finished shirts will be vibrant.
Combine white vinegar and water in roughly a 1:1 ratio. The measurement doesn’t have to be exact, but your solution should be about half vinegar and half water. Mix up enough to fully submerge your shirts in. Soak the shirts in the vinegar and water solution for about an hour.
After an hour has passed, remove the shirts and wring them out. They need to be damp, but they shouldn’t be dripping wet.
Create Your Design
This is where the fun really starts! When it comes to tie-dyeing shirts, there are all different types of designs you can create. If you’re working on this project with little ones, you might want to advise them to simply crumple up their shirts or secure random sections with rubber bands or string. If you’re tackling it with older kids or teens, though, or if you’re doing most of the work yourself, consider trying your hand at a more precious design.
From basic tie-dye techniques like the classic spiral to unique shapes like stars, aliens or even jack-o’-lanterns, there are all sorts of different methods out there to try. Tie-dye can be as simple or complex as you like, and there’s truly no “wrong” way to do it.
Once you’ve settled on a design or technique, fold, crumple or otherwise manipulate the shirt into the appropriate shape or pattern. Use rubber bands or string to secure the fabric in place as you go. Rubber bands work well because they can be removed without cutting, but string is a good option, too. Take your time when banding/tying your shirt. This is especially important if you are trying to create a complex or precise design.
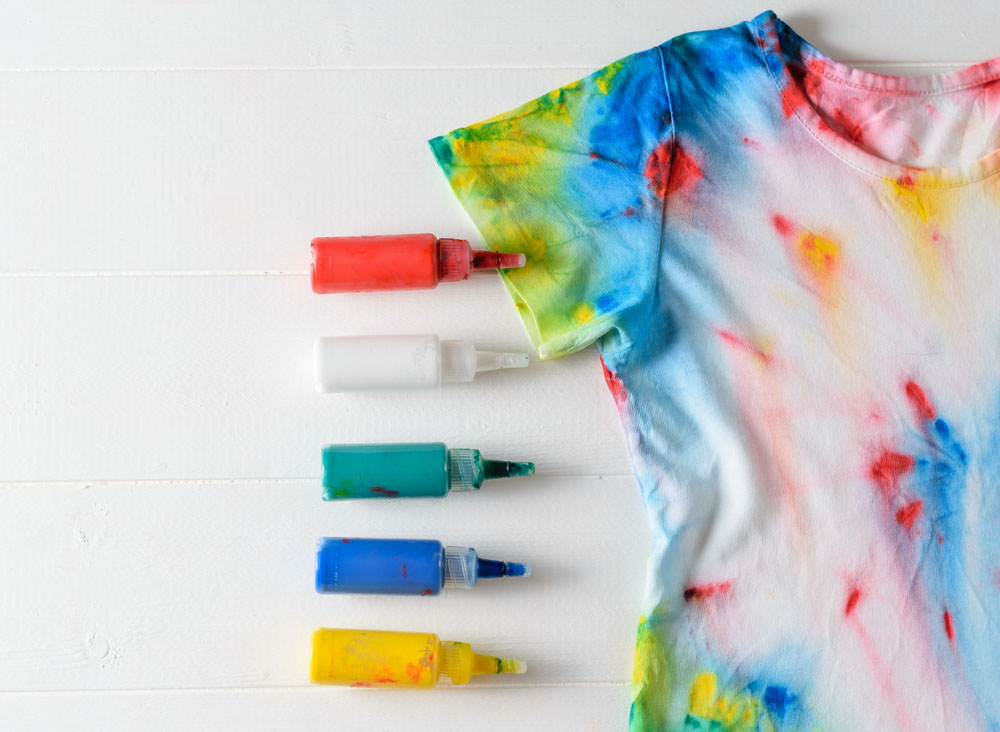
Apply Food Coloring
Once your shirts are all wrapped and ready to go, it’s time to start applying your food coloring. (Did you know food coloring has a long history? Check out this brief history of food coloring!)
To create a vibrant “dye” using food coloring, mix approximately 16 drops of food coloring into half a cup of water. Pouring the water and food coloring into a squeeze bottle and giving it a good shake is the best and easiest way to mix up your dye. Just remember to put your finger over the hole so the dye doesn’t splatter out while you’re shaking it up!
Mix up a separate bottle for each color. If you’re creating several shirts at once, you might want to think about mixing up extra dye to ensure you won’t have to stop and make more halfway through the process. When it comes to creating vibrant tie-dyed tees, having too much dye is way better than not having enough!
Lay your banded or tied shirts on a protected surface (this is where the drop cloth or tablecloth comes in handy!) and start squeezing dye onto each section. Make sure you apply enough to fully saturate the fabric. Don’t worry if you overlap your colors or get the “wrong” color in a section. That’s part of the fun of tie-dye!
Once you’ve finished applying dye to one side, flip your shirt over. You can repeat the same color pattern on the opposite side, or you can change things up. It’s entirely up to you! Just remember to really saturate the fabric to ensure a vibrant result. Use the tip of the squeeze bottle to get down in the folds and creases.
Let Sit
When you are finished applying the food coloring, wrap it tightly in a plastic grocery bag, leaving the rubber bands or string in place. Try to squeeze out as much of the air as possible and make sure the bag is closed tightly so there aren’t any leaks. You may need to double bag. Each shirt needs to go in its own bag.
Now, leave the shirts to sit for a minimum of 12 hours. The longer you let it sit, the more vibrant the end result will be! Leaving your shirt for about 24 hours will yield the best results.
Wash and Wear
After the food coloring has had plenty of time to do its magic, remove each shirt from its bag. Carefully unwind the rubber bands or cut away the string. You’ll want to do this over the sink to minimize the mess.
Rinse your shirt in cool water until it runs mostly clear. If you made multiple shirts, rinse them all out before moving on to the next step.
Once you’ve rinsed all of your shirts, wash them with a mild detergent in cold water. Do not use warm or hot water as it can open up the fiber and allow the dye to be washed away. Dry as usual.
Congratulations! Your shirts are ready to wear. Keep in mind that shirts dyed with food coloring will likely fade over time. To keep them looking their best, remember to wash them in cold water. Avoid washing them with other garments just in case the colors bleed in the wash.
What’s Next?
Now that you’ve learned how to successfully dye t-shirts using food coloring, you’re ready to move on to other projects. As we mentioned before, just about anything made from fabric can be dyed using this method. If you’d like to stick to apparel, consider stocking up on some wholesale crewneck sweatshirts or even plain white socks to dye. You can also use this method to dye household textiles, such as towels, blankets or bed sheets. Feel free to get creative and see how it works on various items and fabrics!
Since traditional tie-dye and modern design go hand-in-hand, there is no limit to the number of stylish products you can create. And by working with food coloring rather than commercial dye, you can rest assured knowing you are using materials that are safe and environmentally friendly.
Conclusion
Whether you’re trying to come up with a fun way to pass a few hours by yourself or you’re trying to entertain your family or a group of kids at a birthday party, you can never go wrong with making tie-dyed shirts. This project is one that is truly fun for all ages, and because it’s so versatile, you can do it using supplies you probably already have in your pantry.
Using food coloring allows you to create unique, one-of-a-kind designs without the need for a commercial tie-dye kit. Keep in mind, though, that shirts dyed with food coloring are more likely to fade–especially when they are not cared for properly.
Once you’ve mastered the technique of tie-dyeing tees, feel free to branch out and try dyeing other garments and home textiles. With tie-dye, no two pieces are ever exactly alike. By experimenting with different projects, you can create your own signature style and make one-of-a-kind pieces for your wardrobe and home.


