Whether you’re a crafting novice or a seasoned do-it-yourselfer, screen printing shirts at home is likely one of those projects you thought would be too difficult or too costly to tackle on your own. With plenty of other methods out there for customizing wholesale women’s t-shirts and other garments, it’s not unreasonable to think that perhaps screen printing is one of those projects that’s best left to the professionals.
Believe it or not, though, screen printing is much easier than you probably think. It also does not cost nearly as much to get started as most people believe. Sure, you can spend a fortune outfitting your entire basement or garage with fancy screen printing equipment that’s capable of customizing garments with lightning speed. When you’re just starting out, though, there are plenty of more affordable alternatives. And even when you start with the basics, you’ll have everything you need to customize apparel for yourself, to give as gifts or even to sell.
Order Wholesale Women’s T-Shirts and Save!
Screen printing at home is a lot of fun, and it’s something that just about anyone can do. Ready to learn how to screen print t-shirts at home? What are you waiting for? Let’s get started!
Screen Printing at Home: The Basics
Before we dive into the full tutorial, let’s take a moment to discuss the basics. In this tutorial, you will be learning how to build your own screen printing frame, how to properly burn it and how to use it to screen print designs onto fabric.
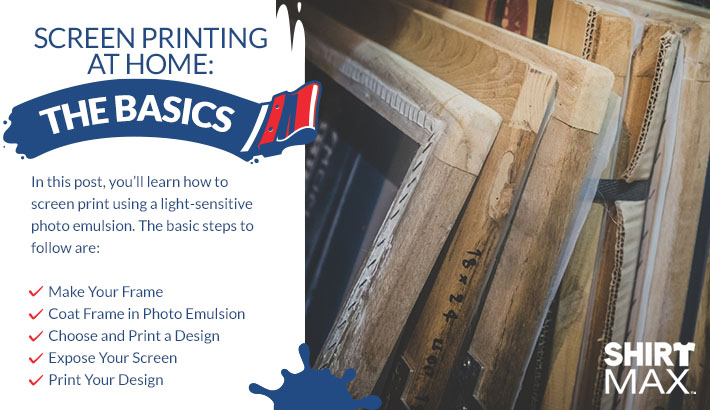
There are a few different types of screen printing, but in this post, you’ll learn how to screen print using a light-sensitive photo emulsion. The basic process involves painting your screen with light-sensitive paint, allowing it to cure, placing your image on top of the paint and then curing it again under lights.
Because it isn’t exposed to light, the area underneath your image won’t cure. When you run the screen under a stream of water, this part will rinse away, leaving a blank area in the shape of your image. You’ll then drag ink across the design to apply it to the shirt.
Make Your Frame
A screen printing frame is an essential part of this project. While you could buy a frame, you can make one at home in just a few minutes. Start by building a frame out of straight 2-inch x 2-inch boards. The average frame measures about 20 inches x 24 inches, but yours doesn’t have to be this exact size. The overall frame doesn’t need to be perfect, but it does need to lie flat.
Next, you’ll need to attach the screen. The use of 110 polyester mesh fabric works best for this. Stretch the fabric across the frame tightly and secure it in place using a staple gun. The fabric should be pulled tightly enough to eliminate wrinkles and creases, but not so tight the staples rip through. Once you’ve attached the fabric, trim the edges and make sure the staples are fully pressed in so they don’t cause the frame to wobble when placed on a flat surface.
Tape around the edges of the screen on the inside and outside of the frame to ensure paint doesn’t leak through. Painter’s tape is your best option, but duct tape works in a pinch.

Coat the Frame with Photo Emulsion
This is where the magic starts to happen. Purchase screen printing photo emulsion to prep your screen and then find a dark room in your home to work. Since photo emulsion reacts to light, you need to be in a dark room when using it.
Carefully read the instructions on the photo emulsion and prep the product as instructed. Then–in a dark room–apply a line of emulsion across the top of the screen. Use a squeegee to carefully draw it down the entire screen on both sides. Work quickly, but make the coat as thin and even as possible. After doing both sides, place the screen in a completely dark area to dry. It needs to dry in total darkness, so make sure absolutely no light can seep into the area for at least one to three hours. You can also speed up the drying process by aiming a fan at the screen and turning it on “low.” Lay the screen down horizontally to dry.
Choose and Print a Design
Now that you have built your screen, you’re ready to pick and print an image. As a beginner, it is best to stick with a simple design. A basic silhouette with clearly defined edges is a solid bet. The more complex the design, the more likely you will struggle with your first print. Once you’ve mastered the technique, you can move on to more complex designs and those that require more than one color. For now, keep it simple.
Order Plain T-Shirts in Bulk to Start Printing T-Shirts at Home
Print your chosen image onto a regular piece of printer paper and then cut it out using a craft knife. Make sure to remove all of the excess paper neatly. Any paper left outside of your image will end up in the design you ultimately print on your shirt.
Expose Your Screen
After the screen has dried completely, you can transfer your design onto it. While many people recommend using a lightbox for this step, it is not necessary. You can get the job done using a regular 150-watt light bulb.
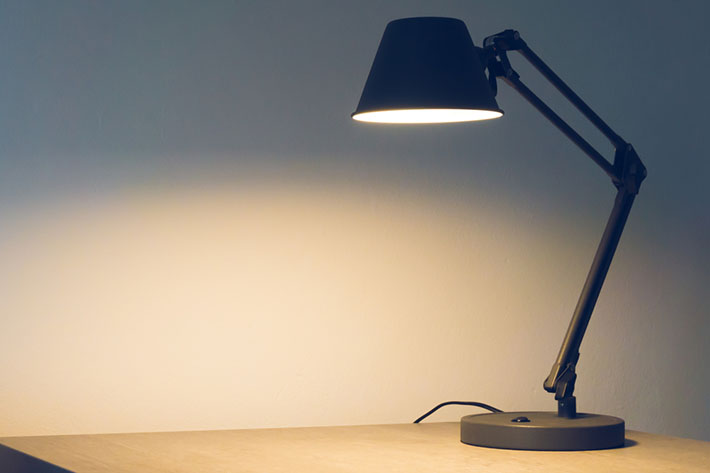
The photo emulsion you purchased has instructions that will tell you exactly how long to expose your image and how far your lightbulb should be from the screen. Read the instructions carefully to ensure you complete the next steps properly.
Set up an area for exposing your screen. You’ll need a flat black surface–such as a piece of Bristol board or cardstock–to place your screen on. You’ll also need a light fixture that allows you to direct the light directly down onto the surface.
Cover the screen with a towel and carry it to your work area. Keep it covered to protect it until you are ready to expose it. Place the screen on the flat black background with the non-recessed part facing upward. This is the “back” of the screen.
Remove the towel and then place your image onto the screen with the printed side down. Put a clean piece of glass over the design to hold it in place, flip on the light and expose for the appropriate amount of time. Set a timer for the exposure time and leave the design alone until the timer goes off.
When the timer goes off, remove the glass and image. You should see a faint design right away and the emulsion surrounding the design should be cured hard.
Finally, rinse your screen with lukewarm water. A high-pressure stream from a showerhead will work well. Focus on the area where the image is and keep spraying until the emulsion in that area has been completely rinsed away. Congratulations! You just made your first silkscreen.
Print Your Design
Now the real fun begins! We recommend purchasing plain t-shirts in bulk before embarking on this step so you have plenty to practice on. While we’re focusing on t-shirts, keep in mind this process works on any type of fabric item. Wholesale crewneck sweatshirts, tote bags, tank tops, hoodies… They can all be customized through the magic of screen printing.
Spread your t-shirt out on a flat surface and smooth out any wrinkles or creases. You may want to iron it just to be on the safe side. If there are wrinkles, they could distort the design. The shirt needs to be clean and dry, too.
A Note About Shirts
While screen printing works well on nearly any fabric item, some t-shirts are better for screen printing than others. One hundred percent cotton shirts are generally regarded as the best shirts for screen printing, even though other fabrics are commonly used. As a beginner, it’s usually best to stick with t-shirts made from 100 percent cotton as they are easy to work with and generally yield the best results.
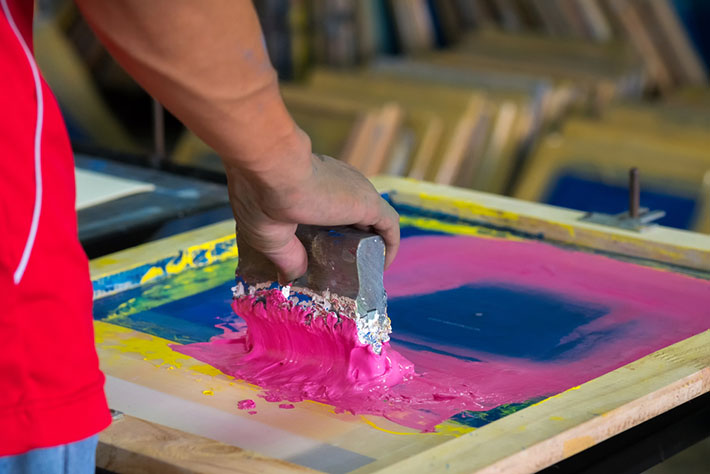
Place the silkscreen you just made on top of the shirt with the recessed side facing upward. In other words, the screen should be directly against the shirt. Apply screen printing ink/paint to the top of the design. Then, drag it down over the image using a squeegee. Do not apply pressure. This step is known as “flooding” the image.
Now, run the squeegee over the image again in the same direction and apply a bit of pressure. You don’t need to press super hard. Just make sure you are applying enough pressure to push the paint/ink through the screen.
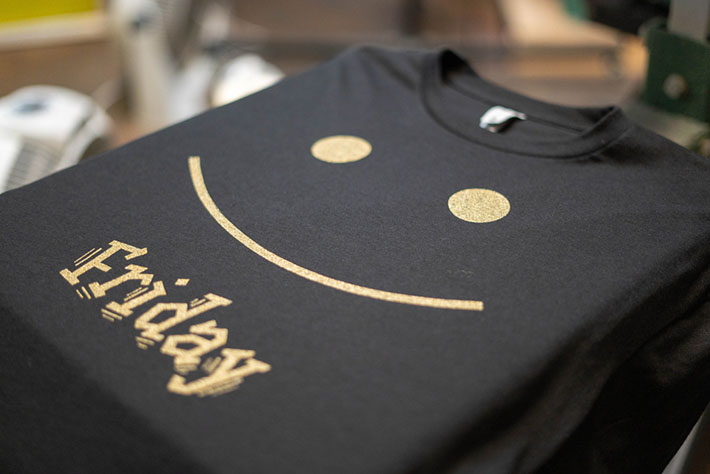
Carefully lift the screen off the shirt. Try to keep it as flat as possible to avoid smearing the design. Hang the shirt to dry. If you are making more than one shirt using the same design, repeat the process on each additional shirt.
When you’re finished, wash the screen by rinsing it under cool water. Don’t allow the screen printing ink or paint to dry or it will ruin the screen.
Once the design has dried completely, heat it by pressing it with a dry iron.
Taking It to the Next Level
Once you’ve mastered the basic process of screen printing, the only limit is your imagination. Screen printing is used for just about everything. Even the production of large-area polymer solar cells by industrial silk screen printing is a thing. One study of color filters patterned by screen printing even found this process can be used in color filters for liquid crystal display panels. While you aren’t likely to tackle anything that complex, there are all sorts of ways to use screen printing to customize apparel and textiles.
When you’re ready to start making more complex designs, invest in transparency paper. Print the design onto the transparency instead of regular paper and you won’t have to worry about cutting it out. The design needs to be completely opaque, though, so you may need to color in the design using a black marker or print the design on multiple transparency sheets and stack them until they are opaque. The printed image needs to completely block all light from going through it. If you hold it up to a light bulb and can see through it, it’s not dark enough.
If you would like to create designs that feature multiple colors, the process is a bit more complex. With practice, though, screen printing with multiple colors is just as easy–though more time-consuming–as using a single color.
Once you have really gotten the hang of things, you can use screen printing to customize t-shirts for yourself, to give as gifts or even to sell. You can also customize hats, sweatshirts and just nearly anything else you can imagine. Whether you are looking for a fun weekend project or a way to start a business from home, learning how to screen print is a solid option.
Conclusion
Screen printing yields impressive results and the process is much simpler than most people would imagine. Using the basic materials and instructions above, you can create a wide range of designs and customize garments, home textiles and more.
At ShirtMax, we have blank apparel that is perfect for screen printing. With our bulk t-shirts, sweatshirts and other garments, you can purchase plenty of extras to practice perfecting your technique. If you are looking for shirts for screen printing, browse our full selection today to find the products you need at prices you can afford.
Image Credits
Source: DGIM studio/Shutterstock.com
Source: RAKSASIN/Shutterstock.com
Source: FabrikaSimf/Shutterstock.com
Source: thaisign/Shutterstock.com
Source: KOKTARO/Shutterstock.com
Source: Crisp0022/Shutterstock.com


