When it comes to customizing blank t-shirts, sweatshirts and other apparel, there are plenty of techniques to try. There’s tie-dyeing, embroidery, screen printing… The list goes on and on. Many people have found, though, that working with heat transfer vinyl–or HTV–provides the greatest benefit. With HTV, you can create virtually any design and apply it to fabric and, of course, other substrates. All you need to get started is a computer, a vinyl cutter, an iron and a few basic crafting supplies. There’s no real need for any special knowledge or skills, and it’s possible to create beautiful designs on your first try.
Whether you are new to heat transfer vinyl or you have a bit of experience but have been using a regular household iron, you might want to think about buying–or upgrading to–a heat press. Heat presses are similar to irons in terms of how they work, but they provide several benefits. They apply more consistent pressure, transfer designs faster and have more precise temperature control than irons. And though they might seem a bit intimidating at first glance, they’re easier to use than you might think. Keep reading to learn how to use a heat press for t-shirts, sweatshirts and more!
Cotton Polyester Blend T-Shirts Are Great for Heat Press Designs
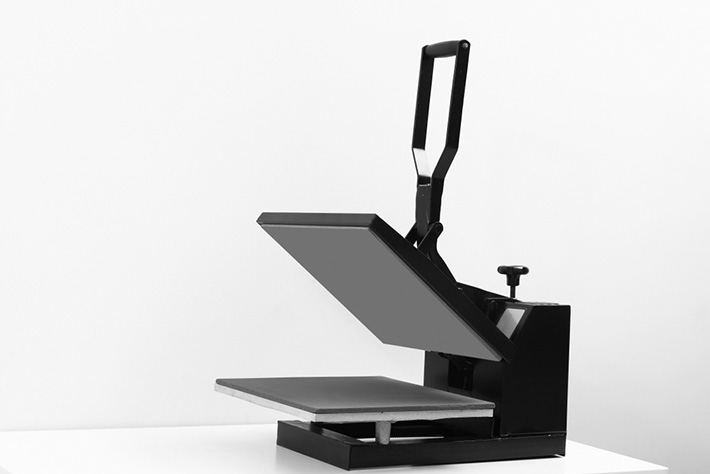
Setting Up Your Heat Press
Once you’ve invested in a heat press, you need to set it up properly. This is to ensure both safety and a guarantee your shirts will turn out flawlessly. Place the press on a solid, level surface. Make sure you have access to the press from three sides and it’s low enough that you don’t need to stretch to pull down the top plate. For safety, install the press out of reach of children and pets, and plug it into its own outlet. Do a heat press pressure test to make sure the press is exerting the appropriate amount of pressure.
Take some time to read the manual that came with your heat press. This guide will provide you with general information on how to use it, but the best information comes directly from the manufacturer. Be sure to read the safety information, too.
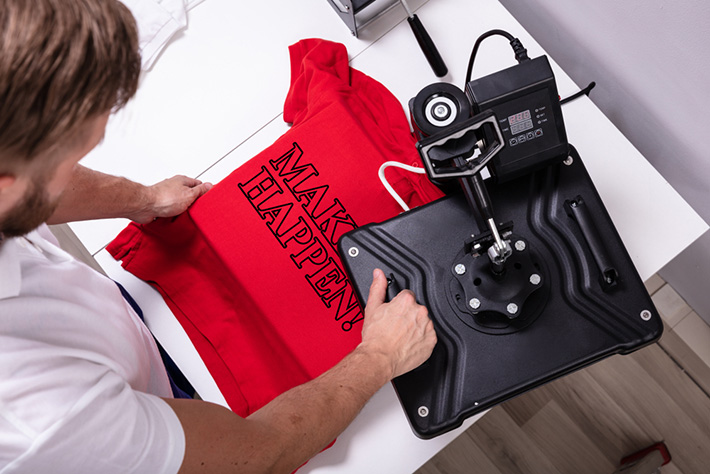
Get the Press Ready
Most presses work in roughly the same way and have a power button, temperature gauge, pressure adjuster and timer. When you’re ready to start working on your first project, turn the press on and set it to the appropriate temperature. You can determine what temperature to use by checking your vinyl’s documentation. When you look at the documentation, you’ll also find info on how long to press for and whether to peel the backing off while it’s hot or cold.
Heat Pressing Works Great on Plain Crew Neck Sweatshirts
Allow the press to heat up to the correct temperature with the top plate up. The amount of time this takes varies from one machine to another.
Prepress Your Shirt
Whether you’re working with a plain crew neck sweatshirt, t-shirt or any other garment, you need to prepress it before applying the vinyl. This step only takes a few moments, but is vital in ensuring the quality of the finished product.

Carefully place the garment on the bottom plate of the press. Then, lower or swing the top plate around and apply to the material. Let sit for about five seconds and then raise the top plate and remove the shirt. This step removes wrinkles and pulls out any moisture that may be in the fabric.
Apply Your Design
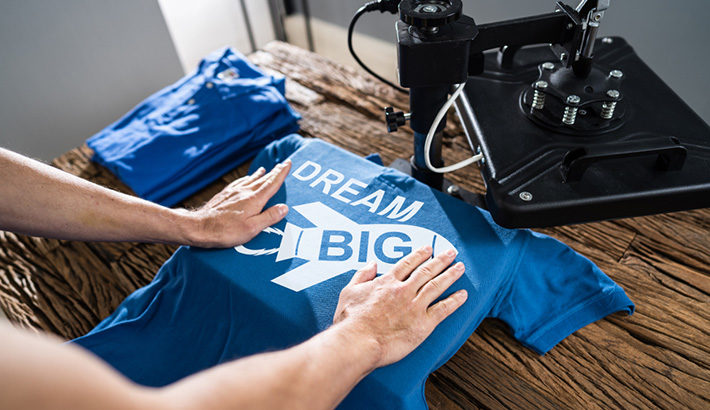
Lay the garment out on a flat surface and position the HTV exactly where you want the design to appear on the shirt with the backing facing upward. Once you’re happy with the location of the design, carefully place your shirt on the press’s bottom plate, being careful to avoid touching the top plate. If possible, allow the seam from the neckline to hang over the edge of the bottom plate to keep it from getting in the way and preventing a tight seal.
Lay a Teflon sheet over the HTV and then lower or swing the top plate into place and lock. Set the timer and wait. When the time is up, release the handle, remove the Teflon sheet and pull out your shirt. If you are using hot peel vinyl, remove the backing sheet now. Otherwise, wait until it cools. When finished, consider flipping the garment inside out and pressing a second time. This draws the vinyl further into the fabric.
Conclusion
Using a heat press provides more consistent results and is much faster than using a household iron. Whether you’re new to HTV or looking for a way to take your projects to the next level, working with a heat press makes designing blank t-shirts faster and easier than you ever imagined possible!


